Emails, contacts, attachments, and other mailbox data are stored in Outlook’s OST data file. In the event that the internet or server is down, it provides access to Outlook mail items. However, you must convert the OST file to Outlook-importable PST format if you want to backup or move mail items from an OST file to another Outlook profile, live Exchange, or Office 365. When the OST file is unavailable or orphaned, the OST to PST conversion is also necessary. This essay has covered both a specialized tool that can convert inaccessible or orphaned OST files to PST and a step-by-step method for manually converting OST to PST.
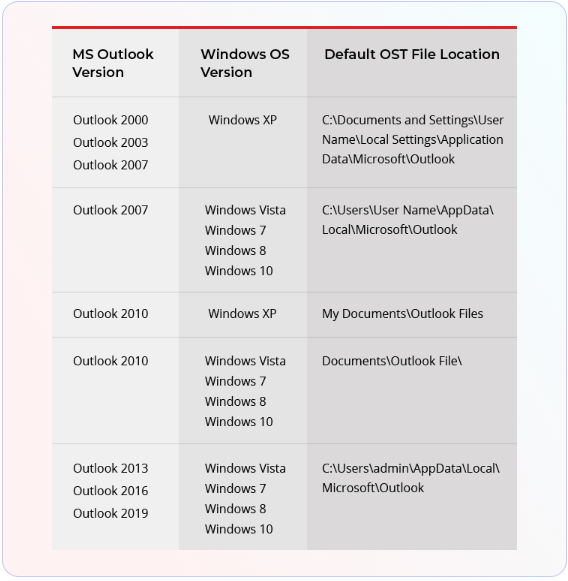
When there is limited connectivity, no internet connection, or an unavailable Exchange server, OST allows Outlook users to work offline. Emails, contacts, documents, calendar items, notes, and more are stored in this local cache of the Microsoft Exchange mailbox.
Conversions made in Outlook are saved in the OST file, and when the system connects to the internet, they are automatically synchronized to the Exchange server mailbox.
However, access to the mail items requires authentication from the linked MAPI profile since the offline Outlook OST file is encrypted using the MAPIEntryID GUID key.
The associated OST file gets orphaned and unavailable when the user profile is deleted from the server or Outlook. Unlike PST, OST cannot be imported or accessed by any Outlook profile. Therefore, you must convert OST files to PST files that are compatible with Outlook.
In additional situations, OST to PST conversion might be required, such as:
- Microsoft Exchange Server Crash: You won’t be able to connect to Exchange Server if it crashes for any reason or if there is a system issue. Your company or business may be impacted by these kinds of problems, and your Outlook profile may not be functioning correctly. To view the data in these cases, you must convert the OST file to PST.
- Accidental deletion of an Exchange Server account: If data is lost or your Exchange Server account is accidentally erased, it can be easily recovered by converting the OST file to PST format.
- Data Migration: By converting OST to PST, you can swiftly move data between systems. This is helpful for organizations that want to transfer their data from machines.
- Exchange Server maintenance: Maintaining access to all mailbox items is crucial in the event of an Exchange Server maintenance outage. This is important since your firm could be negatively impacted by a prolonged outage. Therefore, converting the OST file to a PST file is a good idea in these situations.
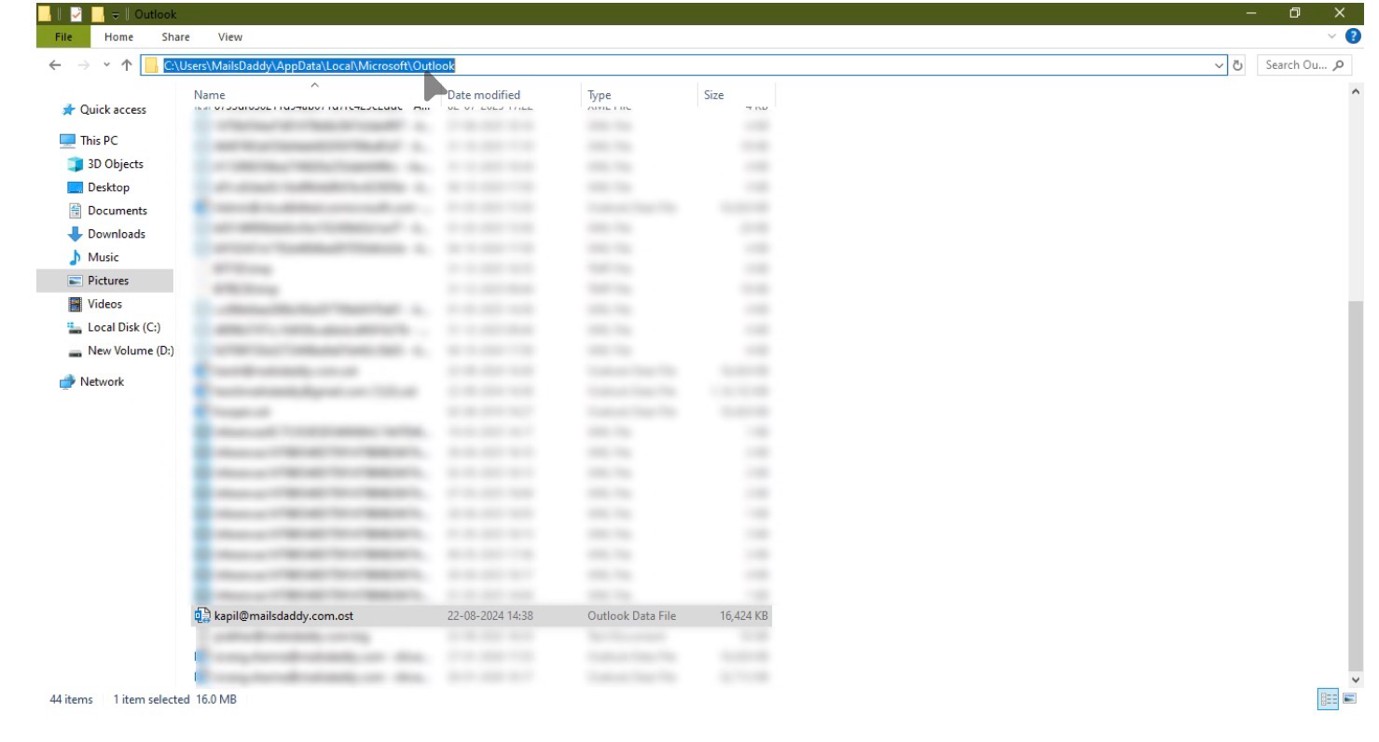
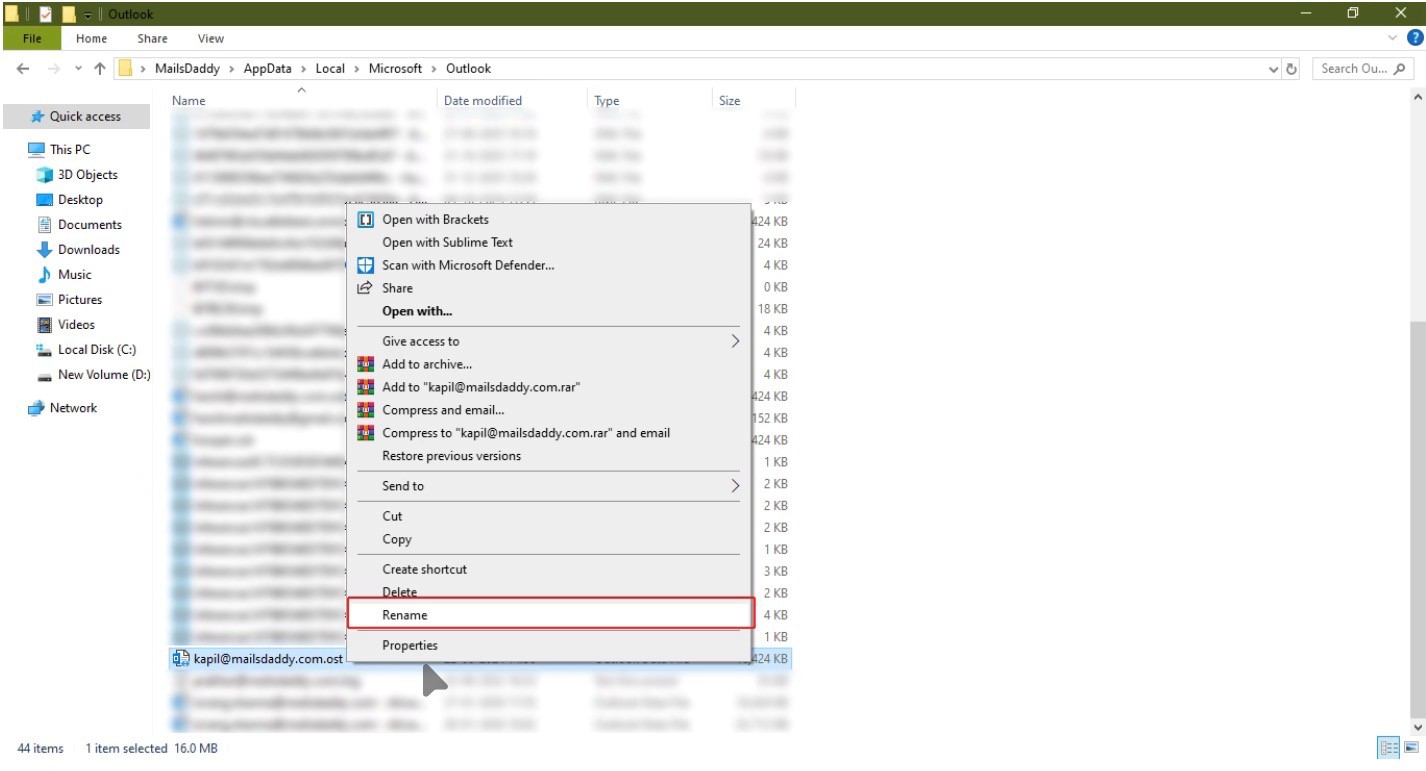
- Rebuild OST file: Let’s say you want to rebuild your OST file, but it contains unsaved data. Therefore, you must convert OST to PST.
Manual Methods To Convert OST To PST
- Make use of the Import and Export Wizard in Outlook
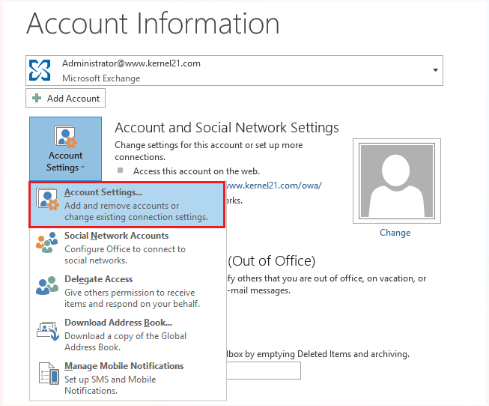
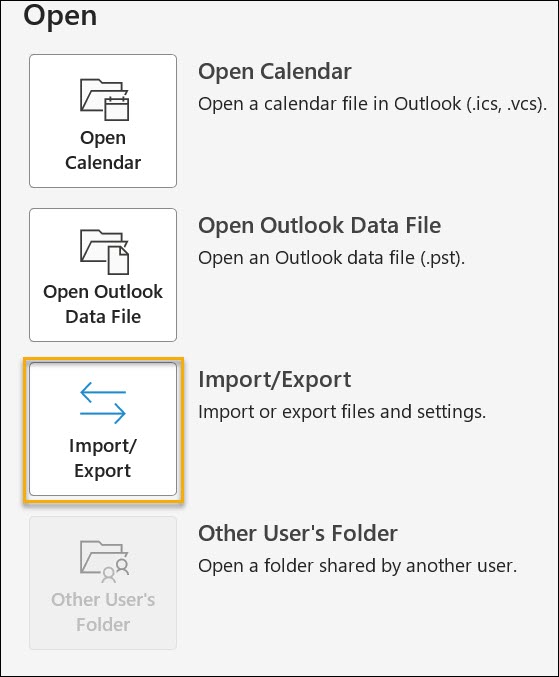
- Click File > Open & Export after opening Microsoft Outlook.
- Select “Import/Export” from the list now.
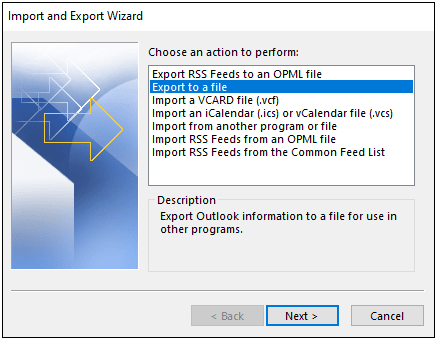
- You are directed to “Select an action to perform” in a new dialog box. To continue, select “Export to a file” and then click “Next.”
- A new dialogue box asking you to “Choose an action to perform” ought to appear. To continue, click “Export to a file” and then “Next.”
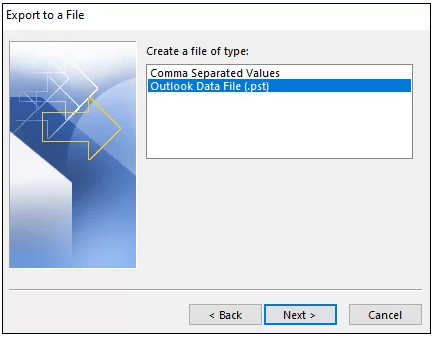
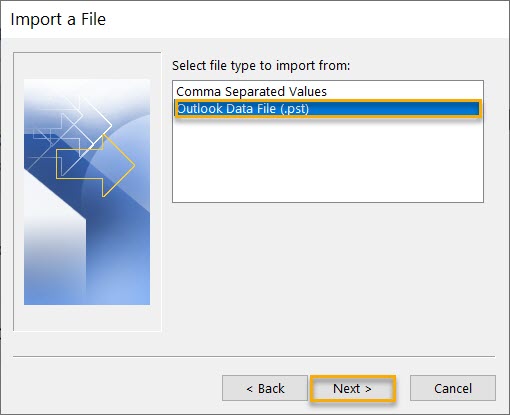
- You will be requested to choose the file type to import on the next screen. To continue, choose “Outlook Data file (.pst)” and press “Next.”
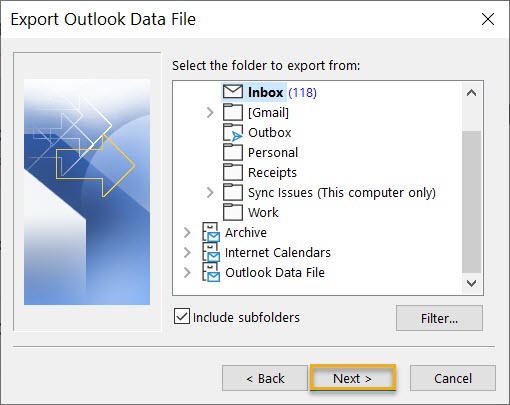
- From now on, choose the folder to export. After selecting the files to be exported, click “Next” to continue.
- After selecting “Allow duplicates to be created” from the options, click “Finish.”
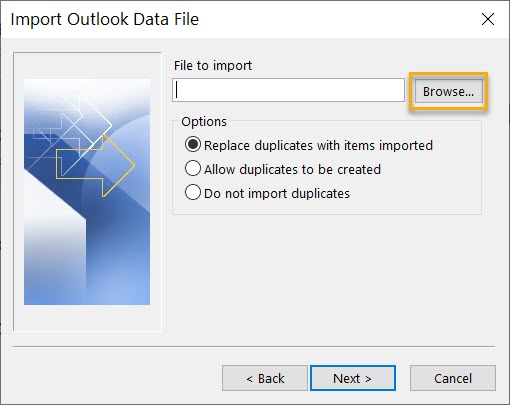
- After doing this, a new pop-up window asking for an optional password will appear. Without it, you can click “OK,” and your OST file will be automatically stored in PST format at the location of your choice.
- You must first launch Microsoft Outlook and select the “File Menu,” located in the upper left corner of the program.
- Select “Options” and then “Advanced.”
- Click the “Auto Archive Settings” option.
- Decide how many days the auto-archive will run.
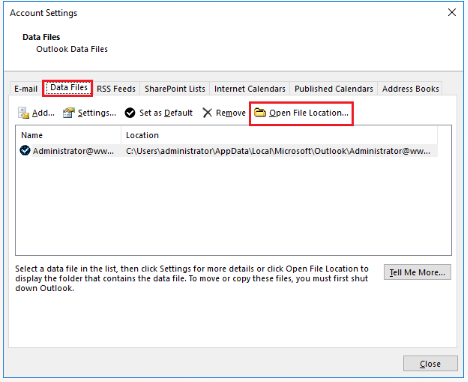
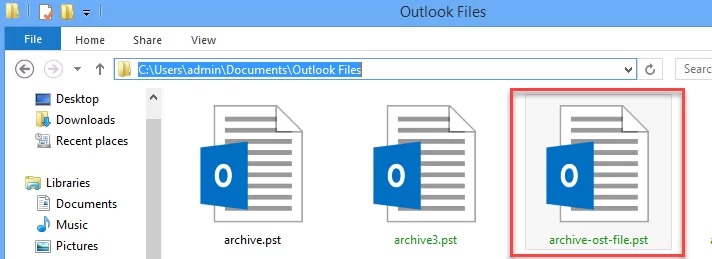
- Next, choose where to save the archive file by clicking the “Browse” option. Next, select “OK” to proceed.
- The mailbox items are automatically saved to the PST file after the operation has begun.
Drag & drag to a new PST file. - Open Microsoft Outlook and make a new Outlook profile PST file.
- Select “New Items” from the toolbar to accomplish this. Select “Outlook Data File” under “More Items.”
- In the optional password section, you can enter a password in addition to the file name.
- The PST file will be created when you click the OK button.
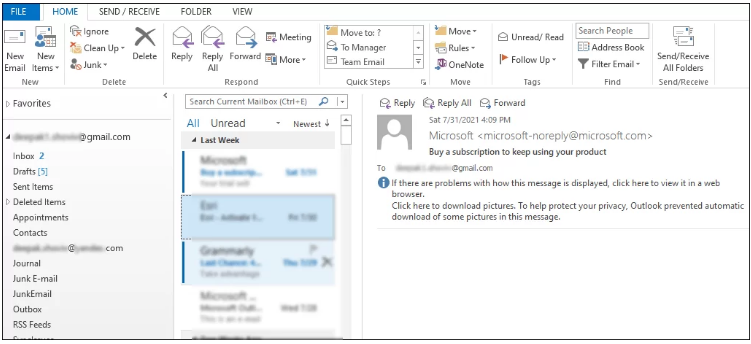
- The mail folders you wish to export should now be dragged and dropped into a mail folder within the new PST file.
The steps to create an archive mailbox are as follows:
Limitations of Manual Methods
The following are some of the disadvantages of manual OST to PST conversion methods:
- They need a lot of work and take a long time.
- They run the danger of losing data.
- Human error is a possibility.
- When the Outlook profile is deleted from the mailbox server, it stops working.
- OST won’t work if it is orphaned or unavailable.
Conversion of OST to PST with the help of OST to PST Converter Software [Recommended]
GoldyTools OST to PST Converter Software is a reliable OST to PST converter that eliminates the possibility of human error and makes the OST to PST conversion process quick and simple. This program creates a PST file after retrieving all of the mailbox data from the OST file. No data is lost during the conversion process, and the mailbox hierarchy remains intact.
There are no file size limitations when using this approach to convert encrypted OST files and IMAP OST files. To assist you in finding and restoring important mail items quickly, it provides a free preview of calendar, email, and other mailbox items. The best part is that the first 20 emails in each folder can be converted from OST to PST for free.
In summary
There are a few manual methods for converting OST to PST, however they have certain limitations even though they are free. For example, you can manually convert OST to PST if you are using Microsoft Outlook with your local Exchange account. If you need to convert OSTs in volume, these manual methods won’t be appropriate because they take longer. With faster execution and complete functionality (multi-format output, batch conversion, etc.), the software technique is a more efficient method of converting single or numerous OST files to PST files.