How to Easily Extract Calendar from OST File
Calendars play important role in Daily ,it helps us for maintain organize meeting, event, parries and important function,. Microsoft Outlook provide a calendar feature to support our need. However store data in cloud carry risk such as data lose or corruption .Therefore regular backup much necessary .This blog explore about manual and Professional OST to PST Converter tool for Extracting calendar data from OST file
Effective Method for Export Calendar Data from OST file Outlook
If you need easy and reliable solution to extract calendar data from OST file then we recommended for Goldytools OST to PST Converter provide User friendly method to Export calendar from OST file. Otherwise you use manual method for it user require more time and technical knowledge.
Method1:How to Manual export Calendar from OST file
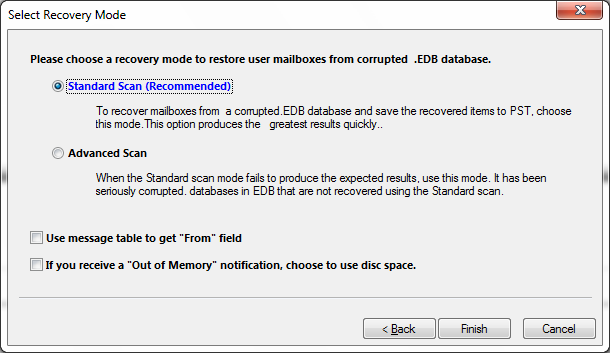
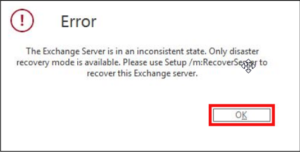
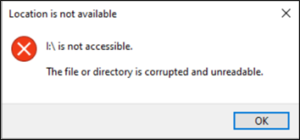
Before extract from PST file .First you check OST file accessible if OST file accessible then Manual method .If OST file not access then we recommend to use Professionals tool
Step to manual extract Calendar from Outlook 2013,2016 and 2019
- Open Outlook application and select file tab
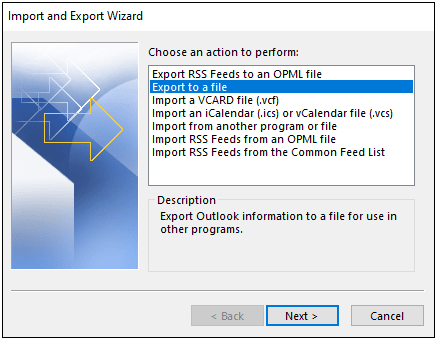
- Click on Open&Export Then click Import/Export Option
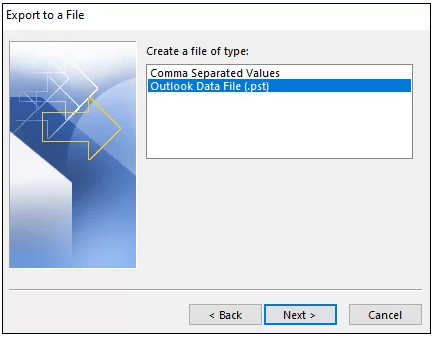
- Click Next then choose Calendar
- Check include subfolder ,then click Next
- Finally ,choose destination folder to save exported file ,then click Finish.
If you are using older version of Outlook ,Please follow below steps
Steps Manual Extract Calendar Data in Outlook2010
- Open Outlook select File>Options . click on Advanced tab
- Now select Export Option ,now Choose Outlook file(.pst)
- Click Next for process.
- Select calendar ,check Include subfolder option and now click Next
- Finally specify destination path for file and click Finish for complete process
If you are using Outlook 2007 .please follow below option
Step to Manual extract Calendar form Outlook 2007
- Launch Outlook click on File Tab and select Import/Export
- Choose Export Option ,then click Next
- Select PST file Option ,Then Click Next
- Now choose Calendar ,then check Include subfolder Option
- Final browse desired location and file name and click OK
Following these step user successfully extract calendar data from OST file .Manual method take more time and if file inaccessible then this method not work. to recovered corrupted data we recommended to OST recovery tool
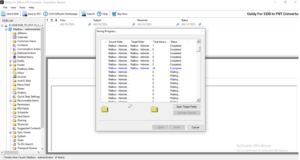
Professional Method for Extracting Calendar data from Outlook OST file
Goldytools OST to PST Converter is reliable and trusted solution For various issue relative OST file .Tool provide many feature and user friendly interface .Some additional key feature given below
- Tool provide date range filter option
- Compatible all version Outlook and Windows Operation System
- Tool recovered and Inaccessible OST file
Conclusion
this article provide reliable User interface for user easily extract calendar data from OST file . Method discuss both practical and proven effective . These dependable techniques outline ,choice now to implement them require


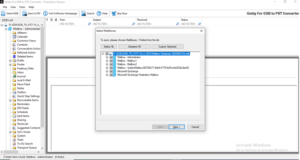
 file which you want to access and click next